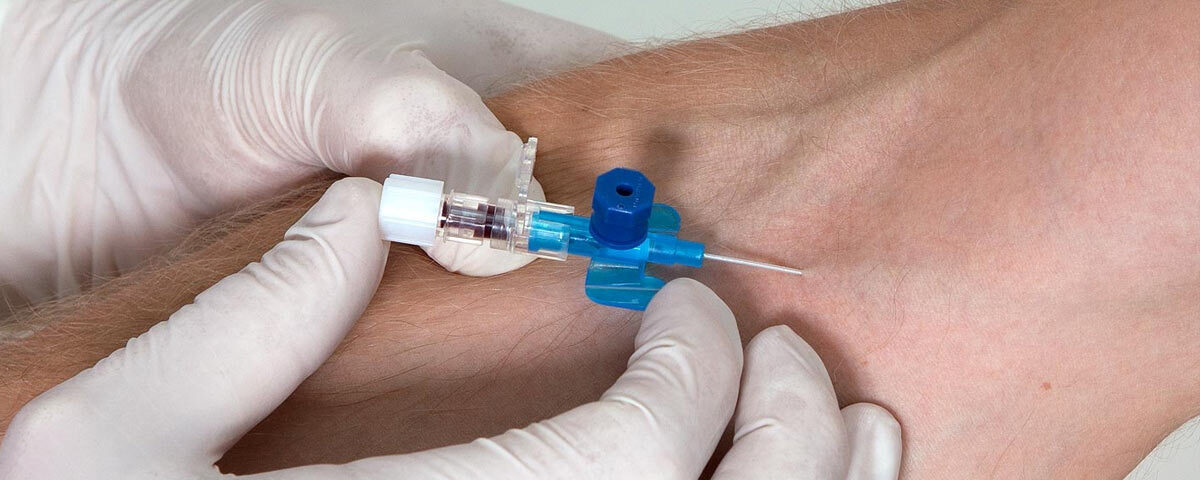
IV Cannulation is a medical procedure where a cannula (a thin tube) is inserted into a vein, typically in the hand, forearm, or elbow, to provide direct access to the bloodstream. This technique is commonly used for administering fluids, medications, blood products, or collecting blood samples.
Steps in IV Cannulation:
- Preparation:
- Gather Supplies:
- IV cannula of appropriate size (e.g., 18G, 20G, or 22G based on patient and purpose).
- Tourniquette.
- Antiseptic solution or alcohol swabs.
- Sterile gloves.
- Adhesive dressing or securing tape.
- Saline flush (if required).
- Sharp’s disposal container.
- Identify the Vein:
- Select a vein that is visible, palpable, and suitable for cannulation (e.g., cephalic, basilic, or median cubital vein).
- Avoid areas of infection, scarring, or previous cannulation.
- Patient Preparation:
- Explain the Procedure:
- Inform the patient about the purpose and steps of IV cannulation.
- Address any anxiety and gain consent.
- Positioning:
- Position the patient comfortably with the arm supported.
- Apply a Tourniquet:
- Place it 5-10 cm above the selected site to engorge the vein.
- Aseptic Technique:
- Wash hands thoroughly and wear sterile gloves.
- Clean the selected site with an antiseptic solution, moving outward in a circular motion.
- Inserting the Cannula:
- Stabilize the Vein:
- Use the non-dominant hand to stretch the skin and secure the vein.
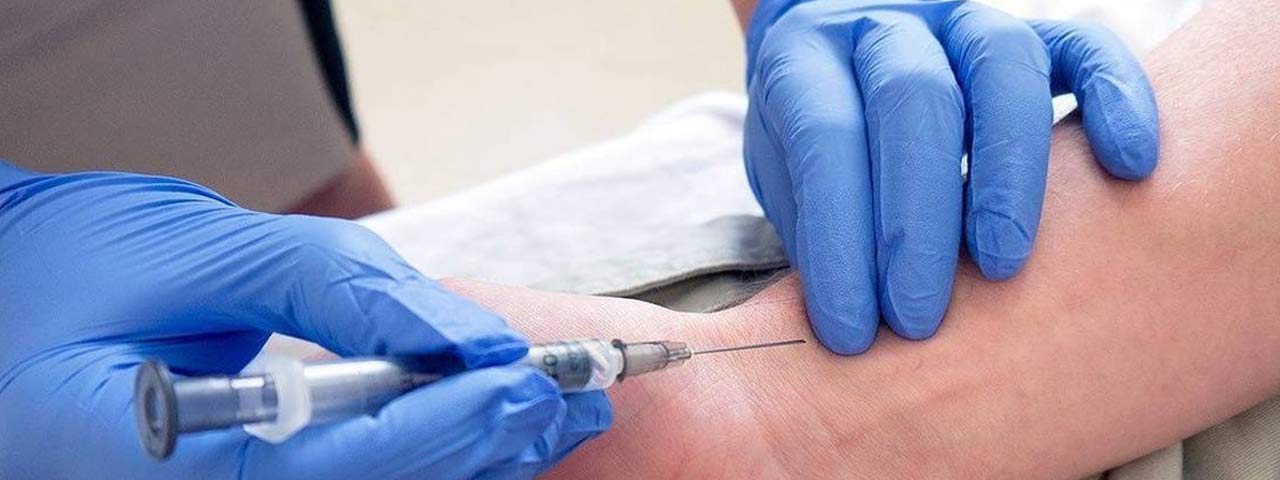
- Insert the Needle:
- Insert the cannula at a 15-30° angle with the bevel facing upward.
- Advance slowly until a flashback of blood is seen in the chamber.
- Advance the Cannula:
- Lower the angle and slide the plastic cannula into the vein while withdrawing the needle.
- Secure the Cannula:
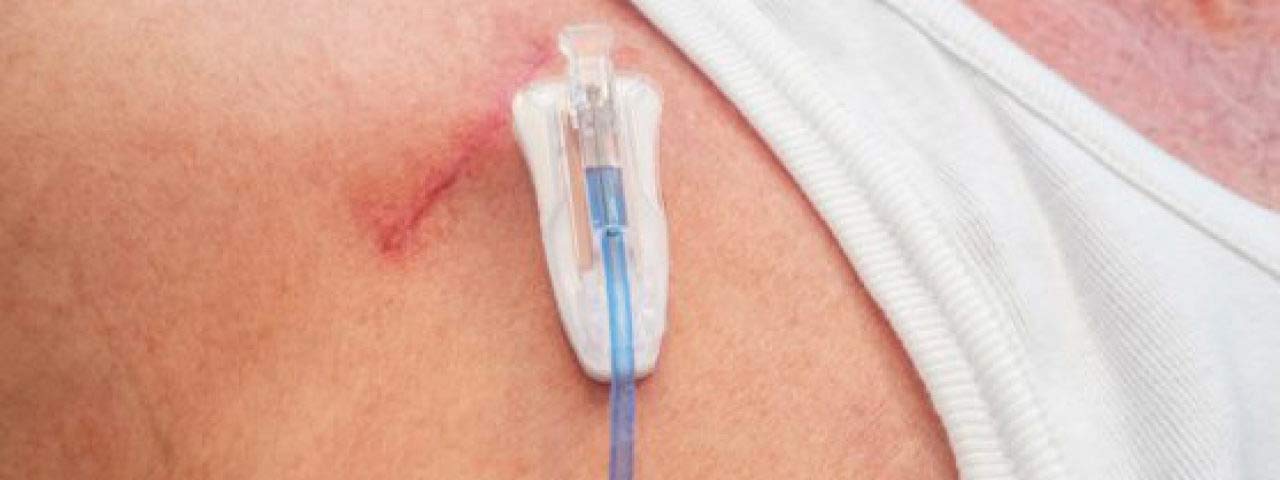
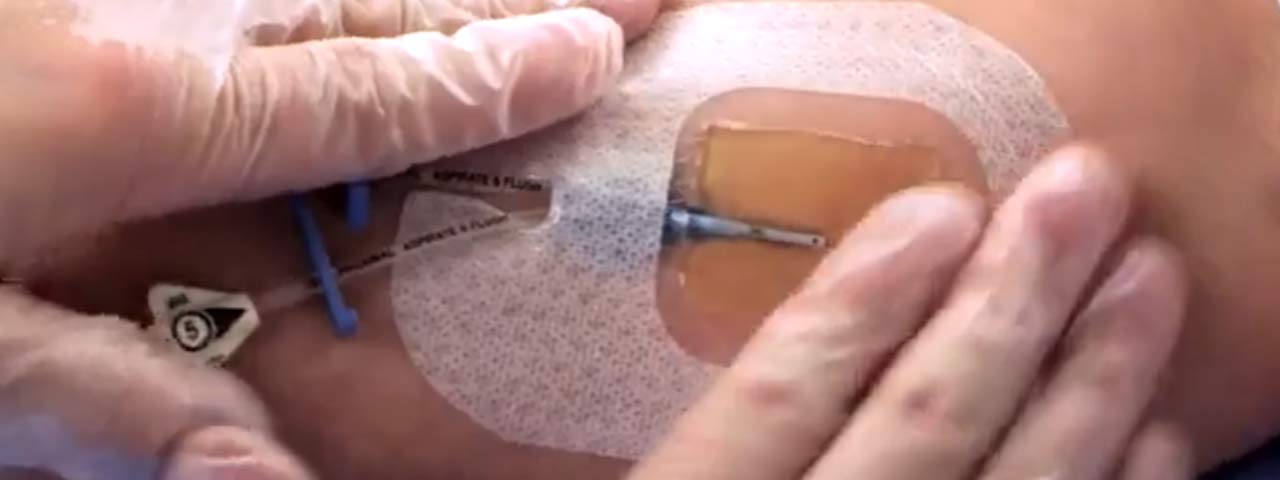
- Remove the tourniquet and fix the cannula with adhesive dressing or tape.
- Post-Insertion Care:
- Attach an IV line or saline lock if needed.
- Flush the cannula with saline to confirm patency.
- Observe for any signs of infiltration or discomfort.
- Dispose of sharps safely in a sharps container.
Choosing the Right Cannula Size:
| Gauge (G) | Color | Flow Rate (mL/min) | Purpose |
| 14G | Orange | 240 | Emergency fluids, blood transfusion in trauma cases. |
| 16G | Grey | 180 | Rapid fluid resuscitation or blood products. |
| 18G | Green | 90 | Routine IV fluids or medications. |
| 20G | Pink | 60 | Routine use in adults, compatible with most medications. |
| 22G | Blue | 36 | For elderly patients, children, or smaller veins. |
| 24G | Yellow | 20 | Neonates, infants, or delicate veins in elderly patients. |
Monitoring and Troubleshooting:
Signs of Successful Cannulation:
- Free flow of IV fluids or saline through the cannula.
- No swelling, redness, or pain at the insertion site.
Common Complications:
- Infiltration:
- Fluid leaks into surrounding tissues.
- Signs: Swelling, coldness, or pallor around the site.
- Management: Remove the cannula, elevate the limb, and apply a cold compress.
- Phlebitis:
- Inflammation of the vein.
- Signs: Redness, warmth, or pain along the vein.
- Management: Discontinue the cannula, apply a warm compress, and monitor.
- Hematoma:
- Blood leaks into tissues due to vein puncture.
- Management: Remove the cannula, apply pressure, and use cold compresses.
- Blocked Cannula:
- Caused by clotting or improper flushing.
- Management: Flush with saline or replace the cannula.
- Infection:
- Signs: Pus, redness, fever.
- Management: Remove the cannula, start antibiotics if needed, and avoid reusing the site.
Aftercare:
- Check the site regularly for signs of complications.
- Replace the cannula every 72-96 hours or sooner if complications arise.
- Maintain proper hygiene and aseptic techniques during dressing changes or fluid administration.

